技术分享博客建站AI美化为 Typecho 博客生成 AI 摘要,附带酷炫的打字机效果
雨天狂奔为 Typecho 博客生成 AI 摘要,附带酷炫的打字机效果
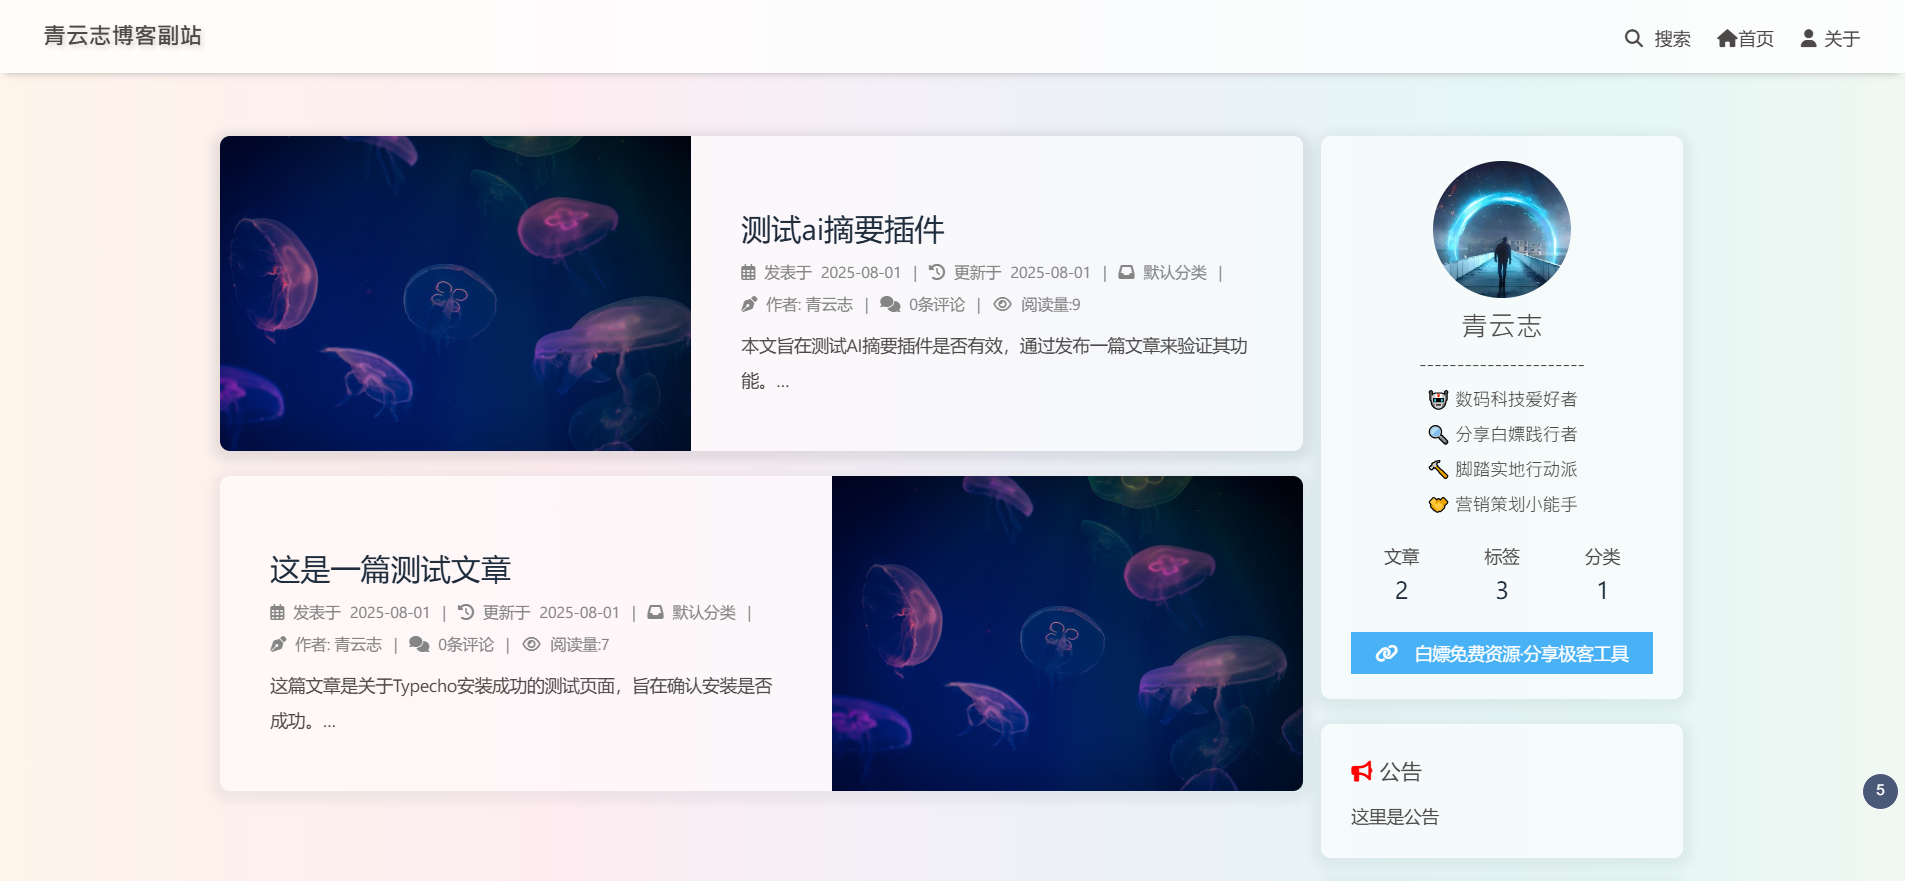
先看效果

这不是一篇博客部署教程,所以如何部署 Typecho 及安装主题不在本文讨论范围内,仅就 AI 摘要插件的安装及自定义样式进行探讨
Typecho 及安装主题资源
设置 AI 摘要插件
启用插件
插件安装完成后,访问 https://博客域名/admin 进入 管理控制台,进入 插件管理 页面,启用插件并设置
按提示设置 AI 模型
它也支持 openai 兼容模型,deepseek 等 ai 都可以接入
自定义摘要的样式
默认的样式实在太丑了!
1
2
3
4
5
6
7
8
9
10
11
12
13
14
15
16
17
18
19
20
21
22
23
24
25
26
27
28
29
30
31
32
33
34
35
36
37
38
39
40
41
42
43
44
45
46
47
48
49
50
51
52
53
54
55
56
57
58
59
60
61
62
63
64
65
66
67
68
69
70
71
72
73
74
75
76
77
78
79
80
81
82
83
84
85
86
87
88
89
90
91
92
93
94
95
96
97
98
99
100
101
| <style>
.aisummary {
--card-bg-light: rgba(255, 255, 255, 0.7);
--card-bg-dark: rgba(30, 30, 40, 0.7);
--text-light: #333;
--text-dark: #f0f0f0;
--border-light: rgba(0, 0, 0, 0.08);
--border-dark: rgba(255, 255, 255, 0.15);
--accent-light: #4a6cf7;
--accent-dark: #7b93ff;
background: var(--card-bg-light);
backdrop-filter: blur(8px);
border-radius: 12px;
padding: 20px;
margin: 20px 0;
border: 1px solid var(--border-light);
box-shadow: 0 4px 12px rgba(0, 0, 0, 0.05);
transition: all 0.3s ease;
font-size: 14px;
line-height: 1.6;
}
[data-theme="dark"] .aisummary {
background: var(--card-bg-dark);
border: 1px solid var(--border-dark);
box-shadow: 0 4px 12px rgba(0, 0, 0, 0.15);
}
.aisummary strong {
display: flex;
align-items: center;
gap: 10px;
color: var(--accent-light);
font-size: 15px;
margin-bottom: 12px;
font-weight: 600;
}
[data-theme="dark"] .aisummary strong {
color: var(--accent-dark);
}
.aisummary .ai-text {
padding: 10px 0;
margin-bottom: 12px;
border-left: 2px solid var(--accent-light);
padding-left: 15px;
min-height: 50px;
overflow: hidden;
}
[data-theme="dark"] .aisummary .ai-text {
border-left-color: var(--accent-dark);
}
.aisummary .powered-by {
text-align: right;
font-size: 12px;
color: #888;
opacity: 0.8;
}
[data-theme="dark"] .aisummary .powered-by {
color: #aaa;
}
.aisummary .powered-by a {
color: var(--accent-light);
text-decoration: none;
transition: opacity 0.2s;
}
[data-theme="dark"] .aisummary .powered-by a {
color: var(--accent-dark);
}
.aisummary .powered-by a:hover {
opacity: 0.8;
text-decoration: underline;
}
.typing-cursor {
display: inline-block;
width: 8px;
height: 15px;
background: var(--accent-light);
margin-left: 2px;
animation: blink 1s infinite;
}
[data-theme="dark"] .typing-cursor {
background: var(--accent-dark);
}
@keyframes blink {
0%, 100% { opacity: 1; }
50% { opacity: 0; }
}
</style>
|
- 正文摘要前后固定文字填写以下代码:(注意:其他主题不一定支持 Font Awesome 图标引用)
1
2
3
| <strong><i class="fas fa-robot"></i> AI摘要:</strong>
<div class="ai-text" id="aiSummaryText">{{text}}</div>
<div class="powered-by">Powered by <a href='https://idealclover.top/archives/636/'>AISummary</a></div>
|
到这一步其实 AI 摘要已经完成了,现在发布文章会自动生成摘要,但是摘要文字是静态呈现的,我们可以继续折腾让它呈现炫酷的打字机效果
给摘要添加打字机效果
打开主题外观设置
注意:其他主题外观设置不一定有自定义 js 和 css 的选项
修改主题默认字体
- 自定义 CSS 样式 (我习惯使用微软雅黑,你也可以不修改,保持默认)
1
| body { font-family: -apple-system,BlinkMacSystemFont,segoe ui,helvetica neue,Lato,Roboto,pingfang sc,microsoft yahei,sans-serif;}
|
实现打字机效果
1
2
3
4
5
6
7
8
9
10
11
12
13
14
15
16
17
18
19
20
21
22
23
24
25
26
27
28
29
30
31
32
| <script>
document.addEventListener('DOMContentLoaded', function() {
const aiSummaryText = document.getElementById('aiSummaryText');
if (!aiSummaryText) return;
const fullText = aiSummaryText.textContent;
let currentIndex = 0;
let typingSpeed = 40;
let timer = null;
function startTyping() {
currentIndex = 0;
aiSummaryText.innerHTML = '';
typeWriter();
}
function typeWriter() {
if (currentIndex < fullText.length) {
aiSummaryText.innerHTML = fullText.substring(0, currentIndex + 1) + '<span class="typing-cursor"></span>';
currentIndex++;
timer = setTimeout(typeWriter, typingSpeed);
} else {
aiSummaryText.innerHTML = fullText;
}
}
startTyping();
});
</script>
|
好了!现在已经大功告成!
#建站 #博客 #美化 #AI